Interproximal reduction is a common way to create space to resolve crowding in aligner cases. As well as creating space it can also improve tooth shape and reduce black triangles so it is imperative we are confident when it comes to planning and performing IPR. There area number of tools available to perform IPR:
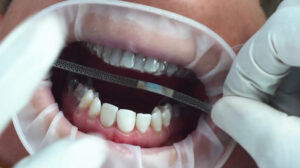
1. IPR Strips – The most user-friendly way to perform IPR! They come in various widths and usually three colours: Blue, red and yellow. Blue is the most coarse and yellow the least. IPR strips allow you to perform precise amounts of IPR in a very controlled manner. You can buy single and double-sided IPR strips. Single-sided may offer slightly more control as you can ensure you are removing enamel from one tooth surface at a time at the desired angle.
2. IPR Burs – Burs are helpful when heavier IPR (0.4-0.5mm) is planned and can be more efficient than using strips. There is a higher risk of iatrogenic damage when using burs, it is easy to take away too much or create ledges. A slow and controlled brushing movement is a good way to use burs when performing IPR and make sure you polish the contacts after with a yellow strip.
3. IPR Discs – Perforated or non-perforated, single-sided or double-sided, the discs are a good way to open up a contact when you’ve started with strips but need to create more space. Be careful to maintain the disc upright and not angle at a slant when performing IPR and make sure to use the safety guard to minimise the risk of soft tissue lacerations.
Five Tips for Performing IPR
1. Plan your IPR in your ClinCheck: If the contacts are very displaced you may want to wait for access to be easier before performing IPR, this will help maintain the anatomy of the interproximal area.
2. Underperform rather than overperform IPR: You can always perform a little more IPR if contacts become very tight. If the ClinCheck outlines 0.5mm needed and you only perform 0.3mm on the day, it’s ok to come back in a couple of weeks and perform the final 0.2mm. IPR can also be very time consuming when you are first starting!
3. Ensure there is the desired amount of space all the way down: Check with floss that you’ve not accidentally created ledges at the gingival margin.
4. Always polish the contacts: A yellow IPR strip can be passed through the contact to ensure there are no rough areas and that the interproximal areas are smooth.
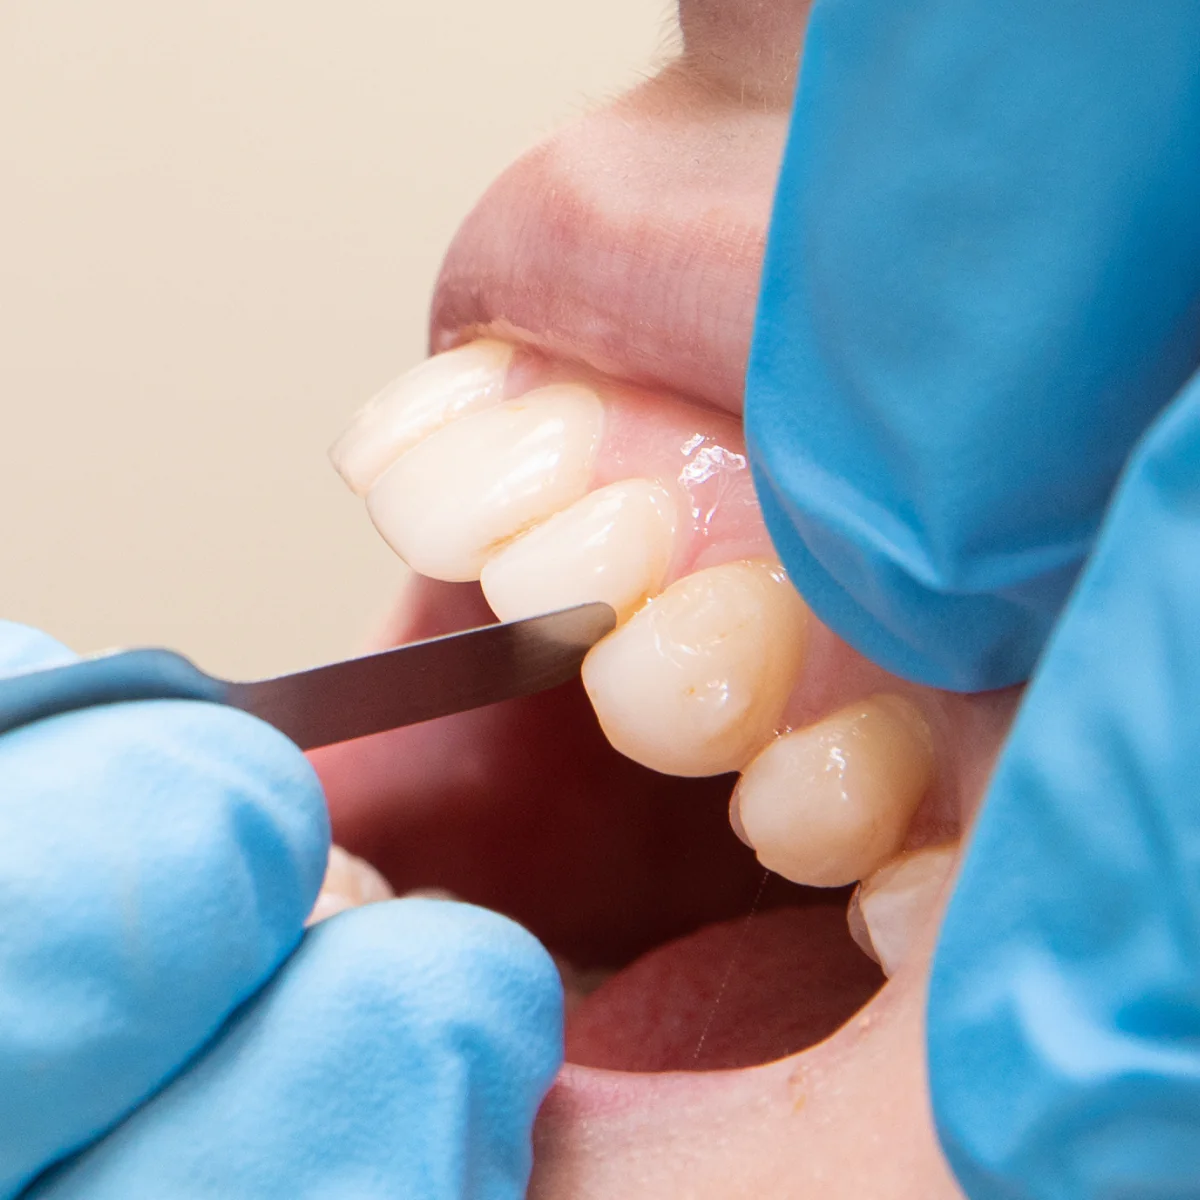
5. It’s key to measure and record how much IPR you are performing at each session in each contact, an IPR gauge is essential for doing this.
Article by Lydia Sharples